-

Qualtrics Platform -

Customer Journey Optimizer -

XM Discover -

Qualtrics Social Connect
Creating a Pulse
About Pulses
If you want to gather targeted employee feedback on a regularly scheduled basis, you can use a pulse. Pulses are valuable to Human Resources and senior management as a way to get ongoing employee feedback on everything from trust in leadership, to significant company events (like mergers or acquisitions), to the general employee experience. From there, you can piece together trends over time and take action on developmental areas.
Once you set up a pulse, it runs itself. Pulses can run on a cadence of your choosing. You don’t have to worry about survey fatigue with more frequent pulses, either, thanks to the pulse’s unique participant sampling feature.
You can also make changes to your pulse as needed, adding one-off questions or changing the future wording of all subsequent pulses.
Now that you’ve got an idea of the pulse’s capabilities, let’s start setting one up.
Creating a Pulse
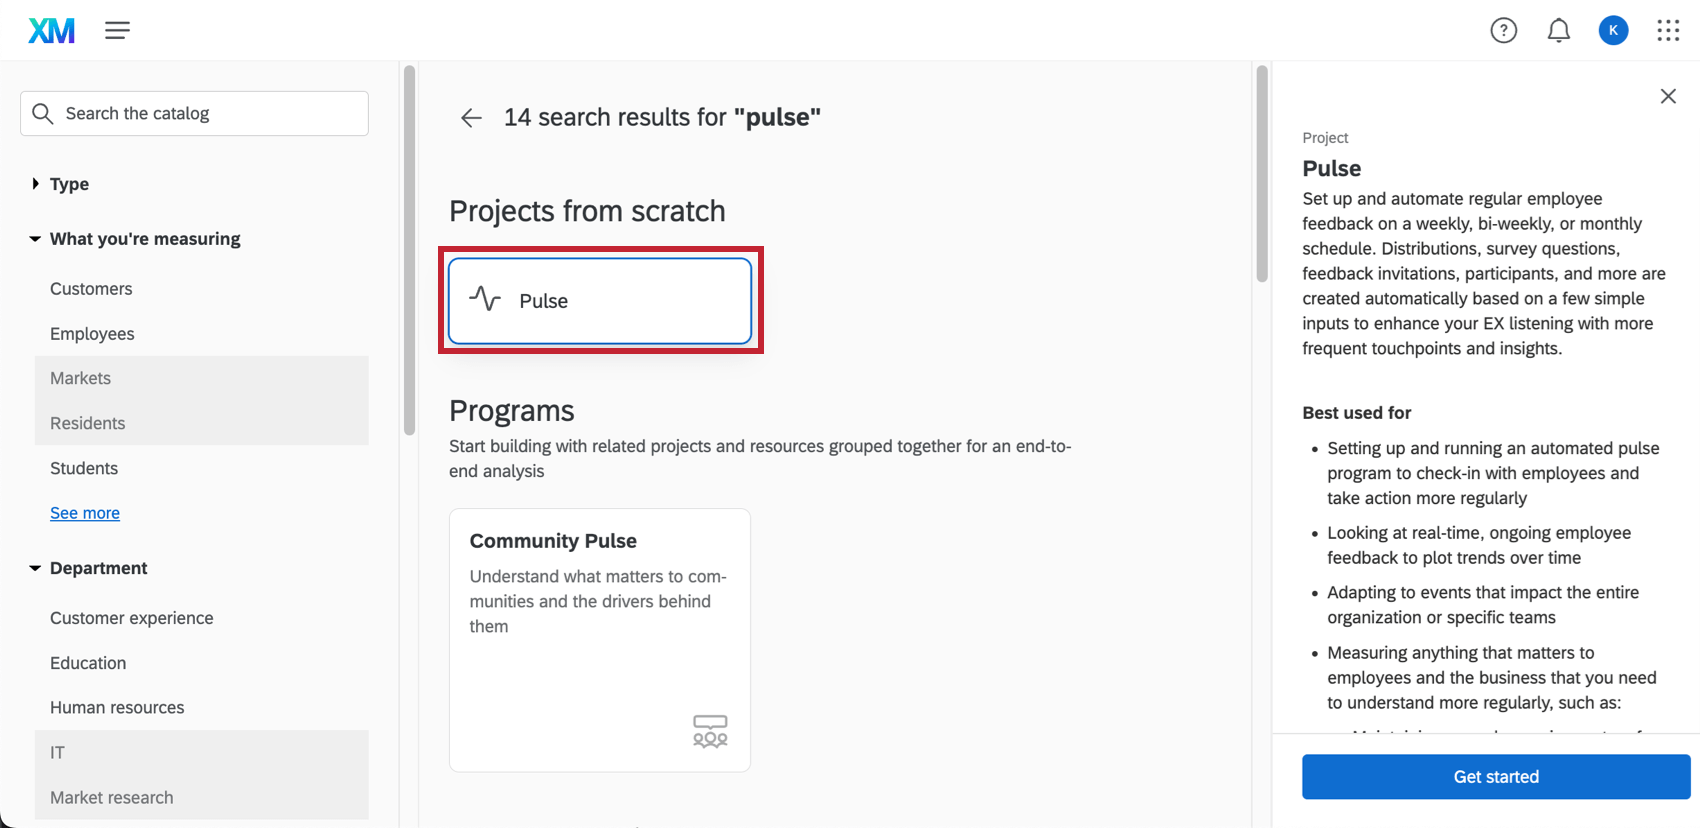
To create a pulse, go to the Catalog page and search “Pulse.” You will see a tile for “Pulse” under Projects from scratch.
Once you’ve created your pulse, you’ll be brought to the Overview tab. Here, you can click through and complete the following steps:
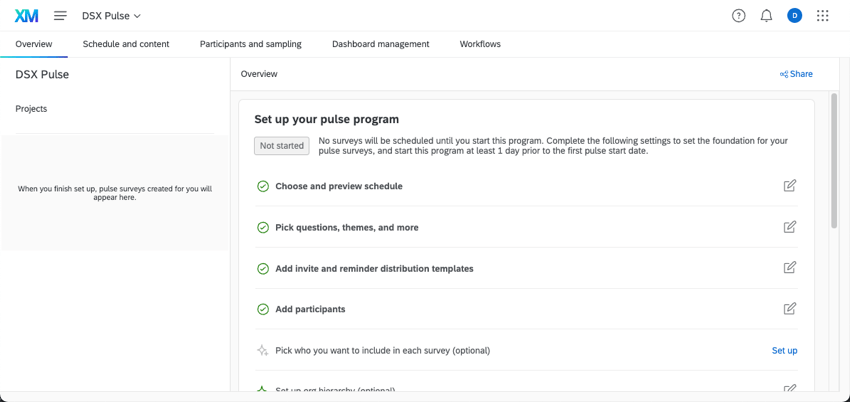
- Choose and preview a schedule.
- Pick questions, themes, and more.
- Add invite and reminder distribution templates.
- Add participants.
- Pick who you want to include in each survey.
Qtip: This step may or may not be optional based on the schedule you selected. - Set up org hierarchy (optional).
- Define how many questions rotate survey by survey (optional).
- Set up automated workflows (optional).
- Create a dashboard before the program starts and see how it works (optional).
- Customize notification settings for all administrators and collaborators in this program (optional).
See the linked sections to learn more about each step.
Starting a Pulse
Once you’ve finished all the steps to create your pulse, you can start your program, distributing surveys to your participants.
When you’re ready, go to the Overview tab and select Start.
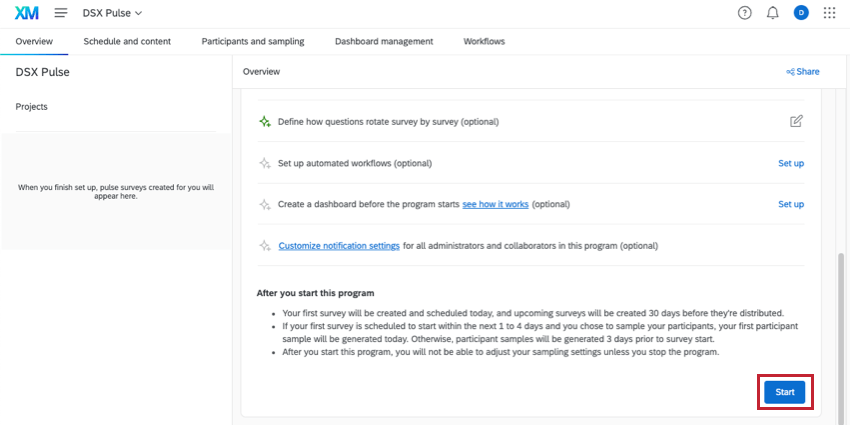
Once you start your pulse:
- Your future pulse surveys and a dashboard will be generated in the Projects list to the left.
Qtip: Learn more about managing these individual projects.
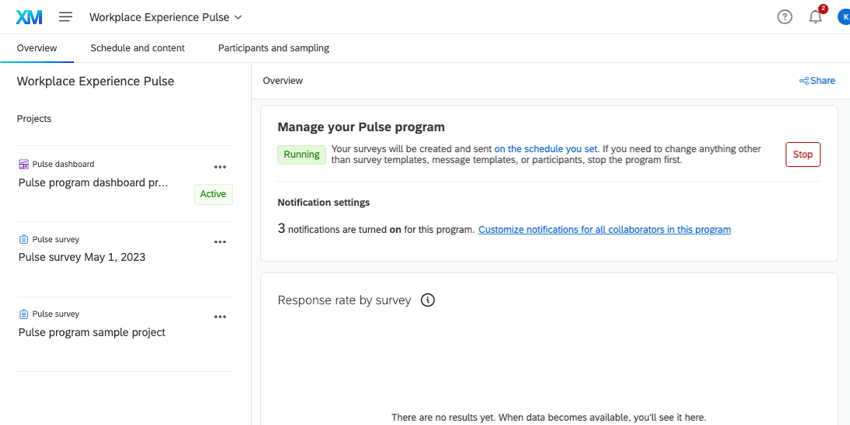
- You won’t be able to make edits to your schedule or sampling settings. You can only edit these settings after you stop the pulse.
- Pulses will continue to send on the schedule you chose unless you manually stop them.
Dashboard Management
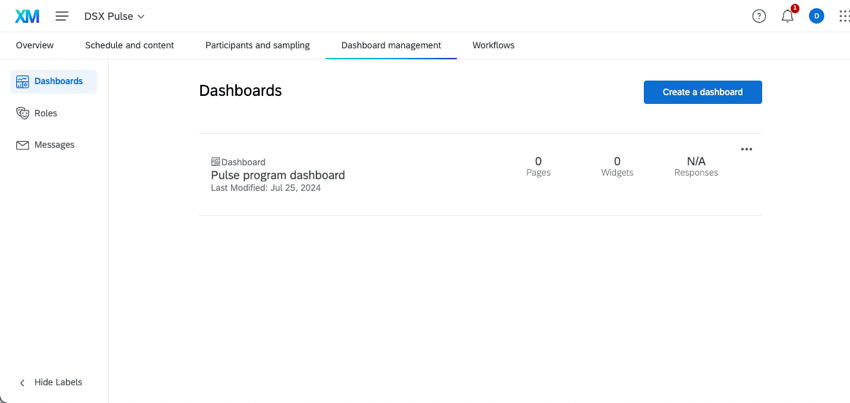
Once your program is up and running, you can start dashboard management. You can take your time to design your dashboards and set up user roles before you invite anyone to see the dashboard.